

Week 26
My Family Tree
Welcome to week twenty-six of your Smash Book! Today, you will be reflecting on your lineage by creating a family tree.
Attention Makers: We are officially half way through our Smash Book projects. Keep up the great work!


Step 1. Use this week’s template to collect and record information for your family tree. To collect all this data, you’ll need to put on your detective hat and ask family members to help you fill in the blanks. This may take some time, so be prepared to work on this project over a few sessions.
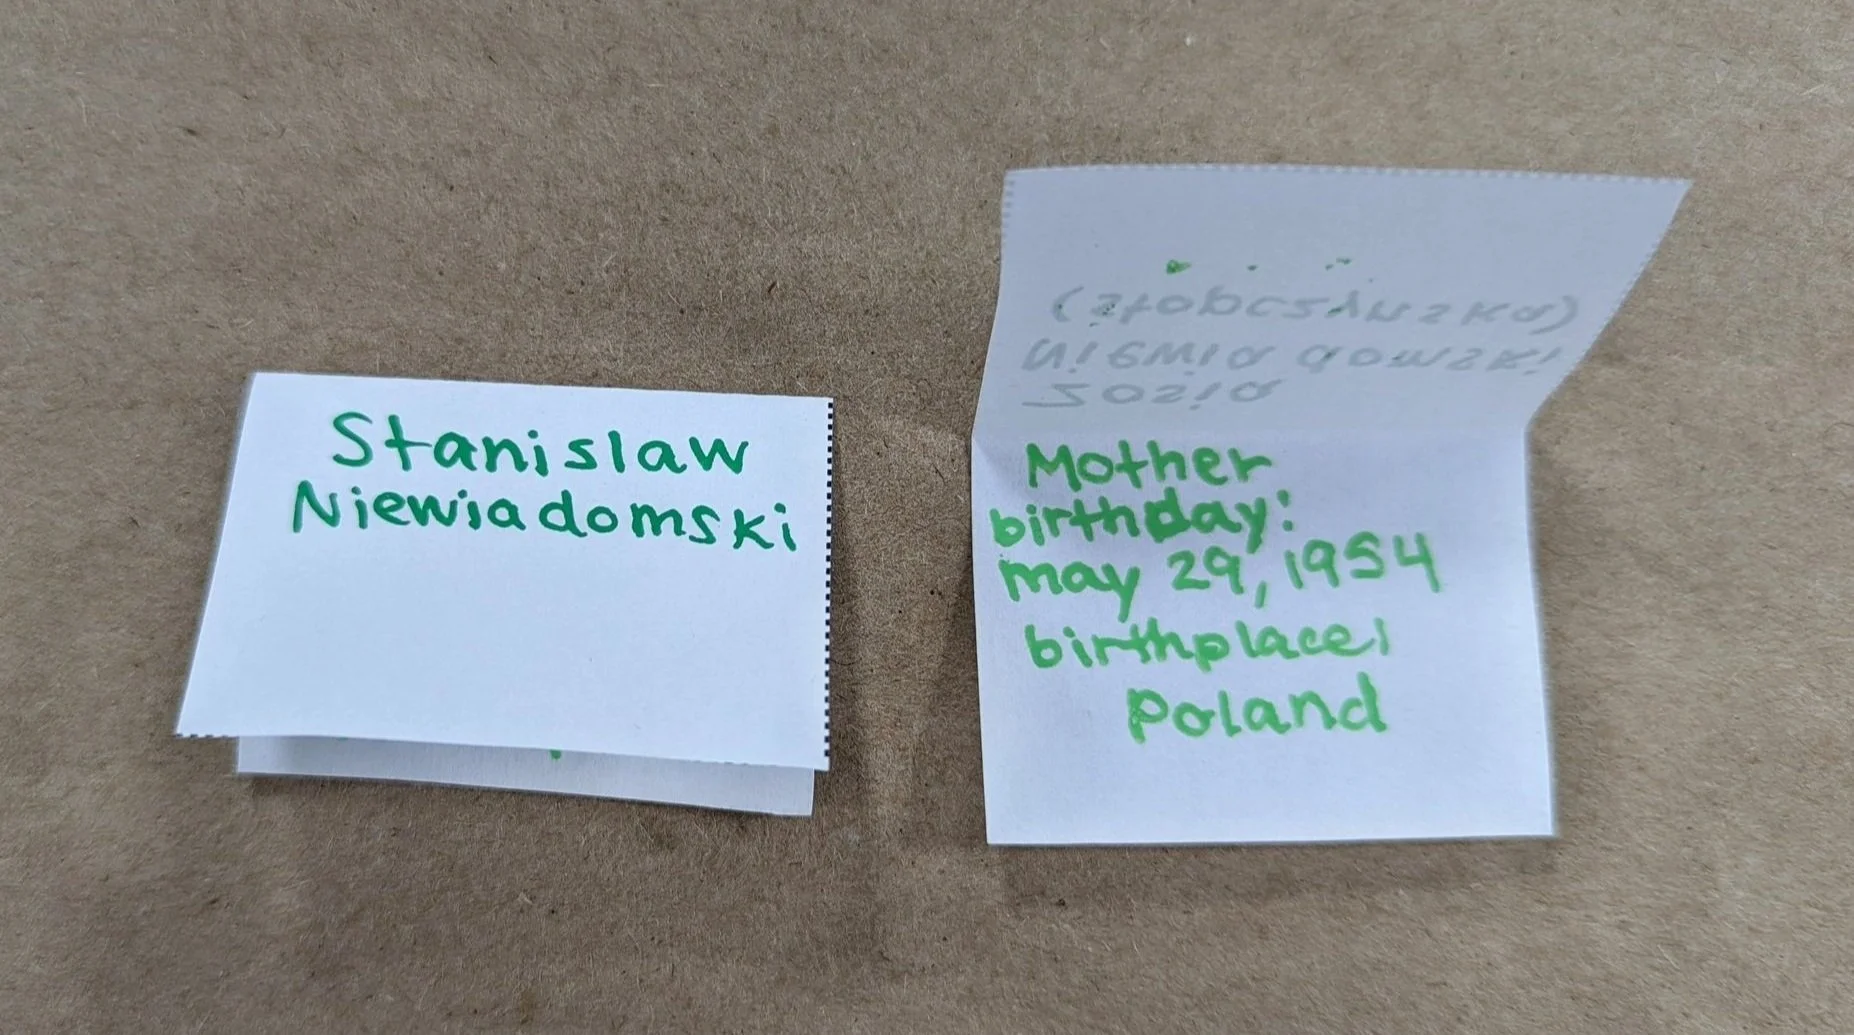
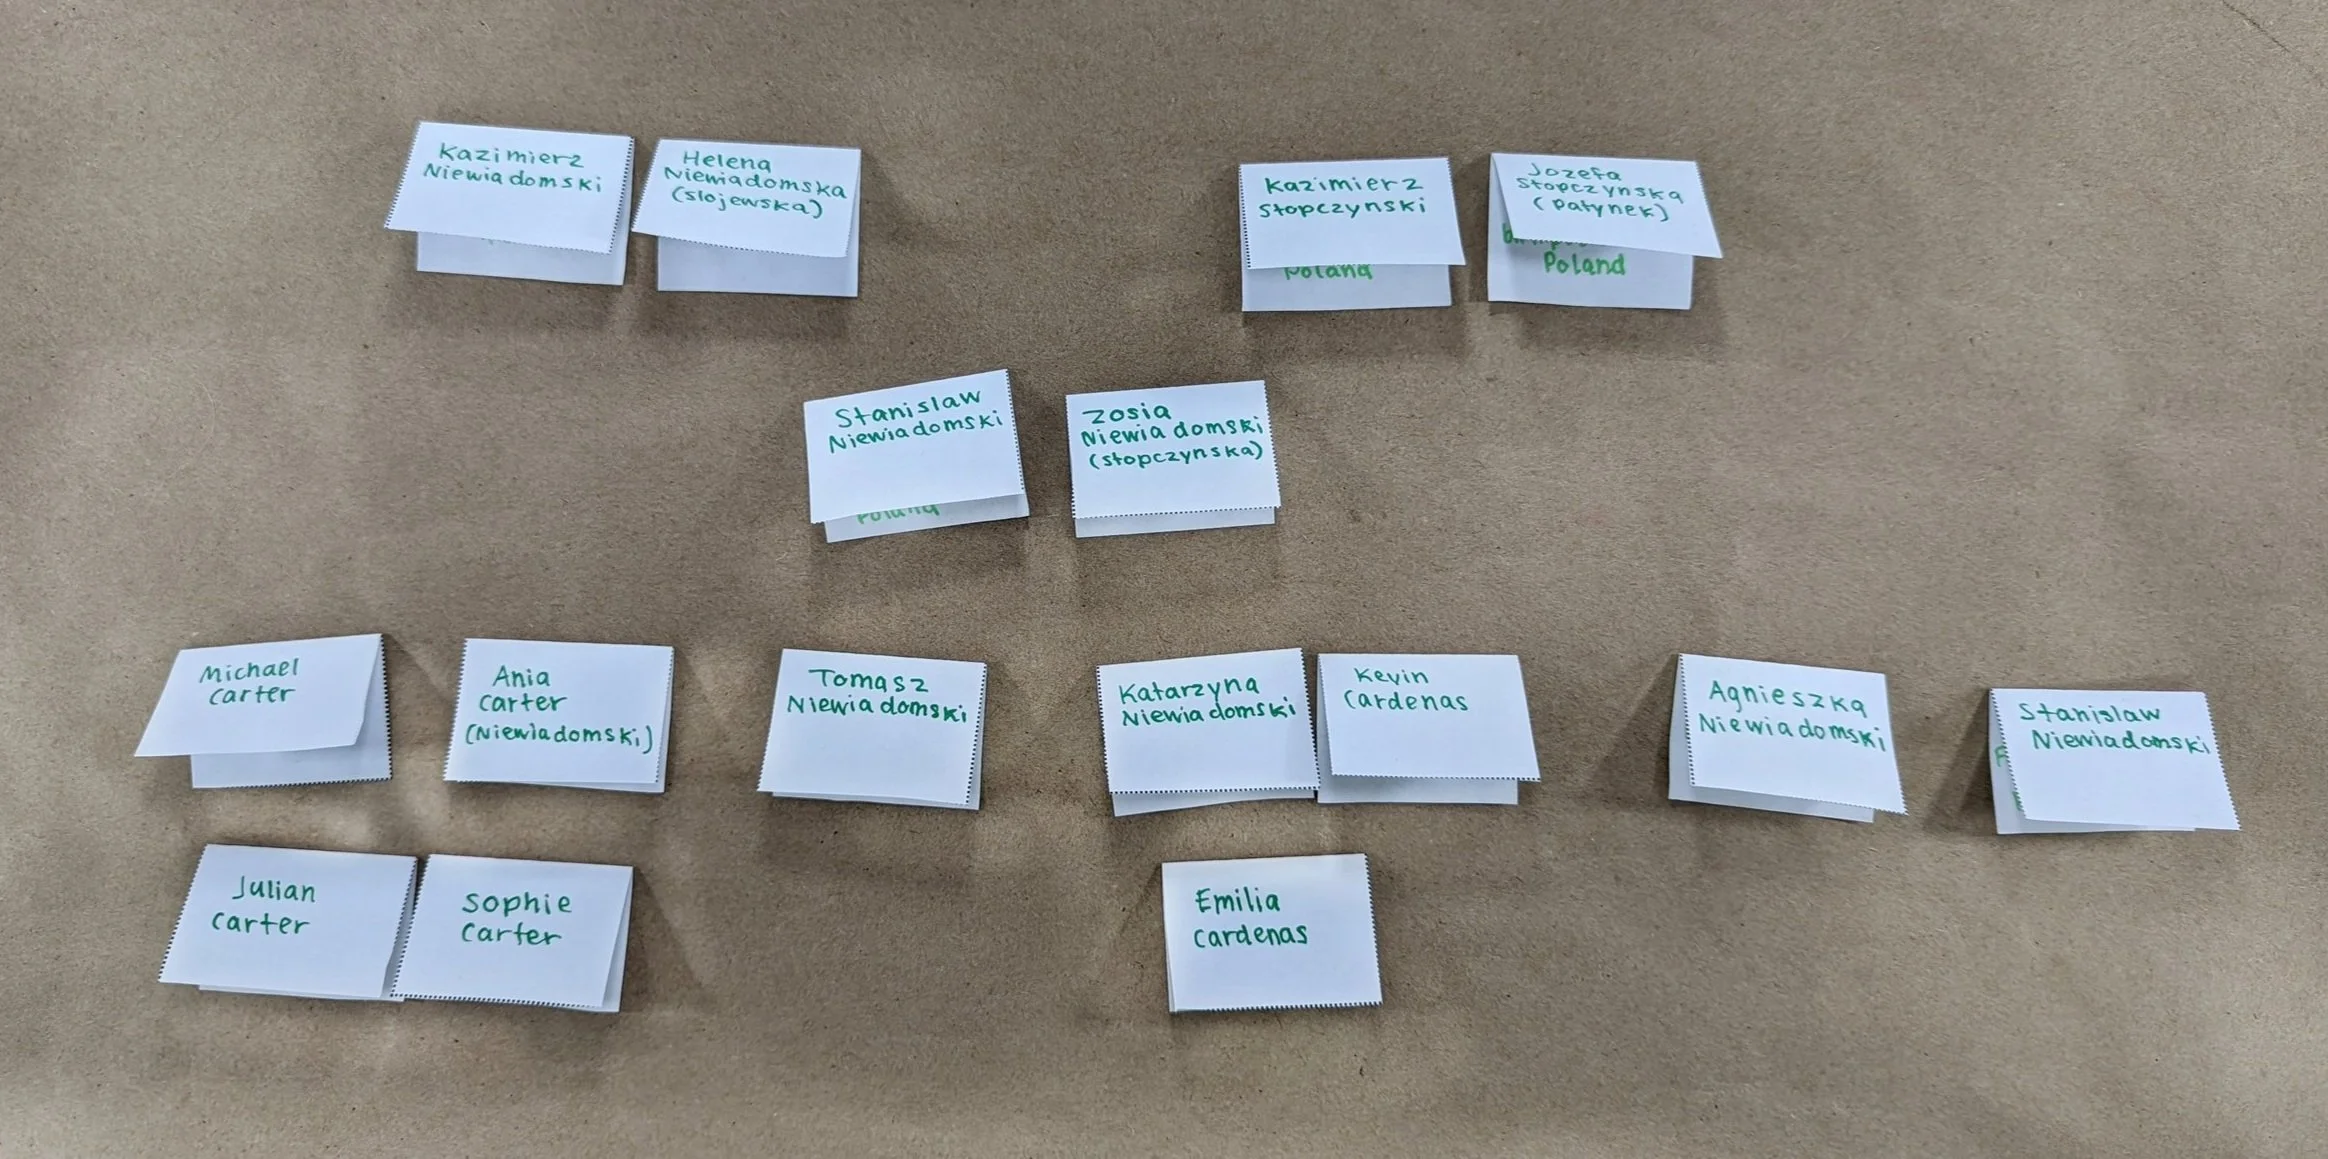
Once you’re ready to start assembling your page, you can use the rectangle card template to create a card for each person in your tree.
Fold each of the rectangles in half (hamburger-style). On the front, write the name of your family member. On the inside flap, write their relation to you (mother, brother, aunt, etc.), and any other information that is important to record (i.e. birthday, birth place, date of death, etc.).
Step 2. Try arranging your rectangles to see what your family tree is shaped like. The oldest generation should be at the top, then “branch” off to younger generations.
Step 3. Once you know the shape of your family tree, you should know if you need to extend it in any direction if you have a lot of family members in one place. To do this, take a spare piece of blank paper, and fold it in half. Then, using a glue stick, paste half of the page into your Smash Book. This will create a foldable flap that will extend your family tree! You can add as many extension pages as you need.

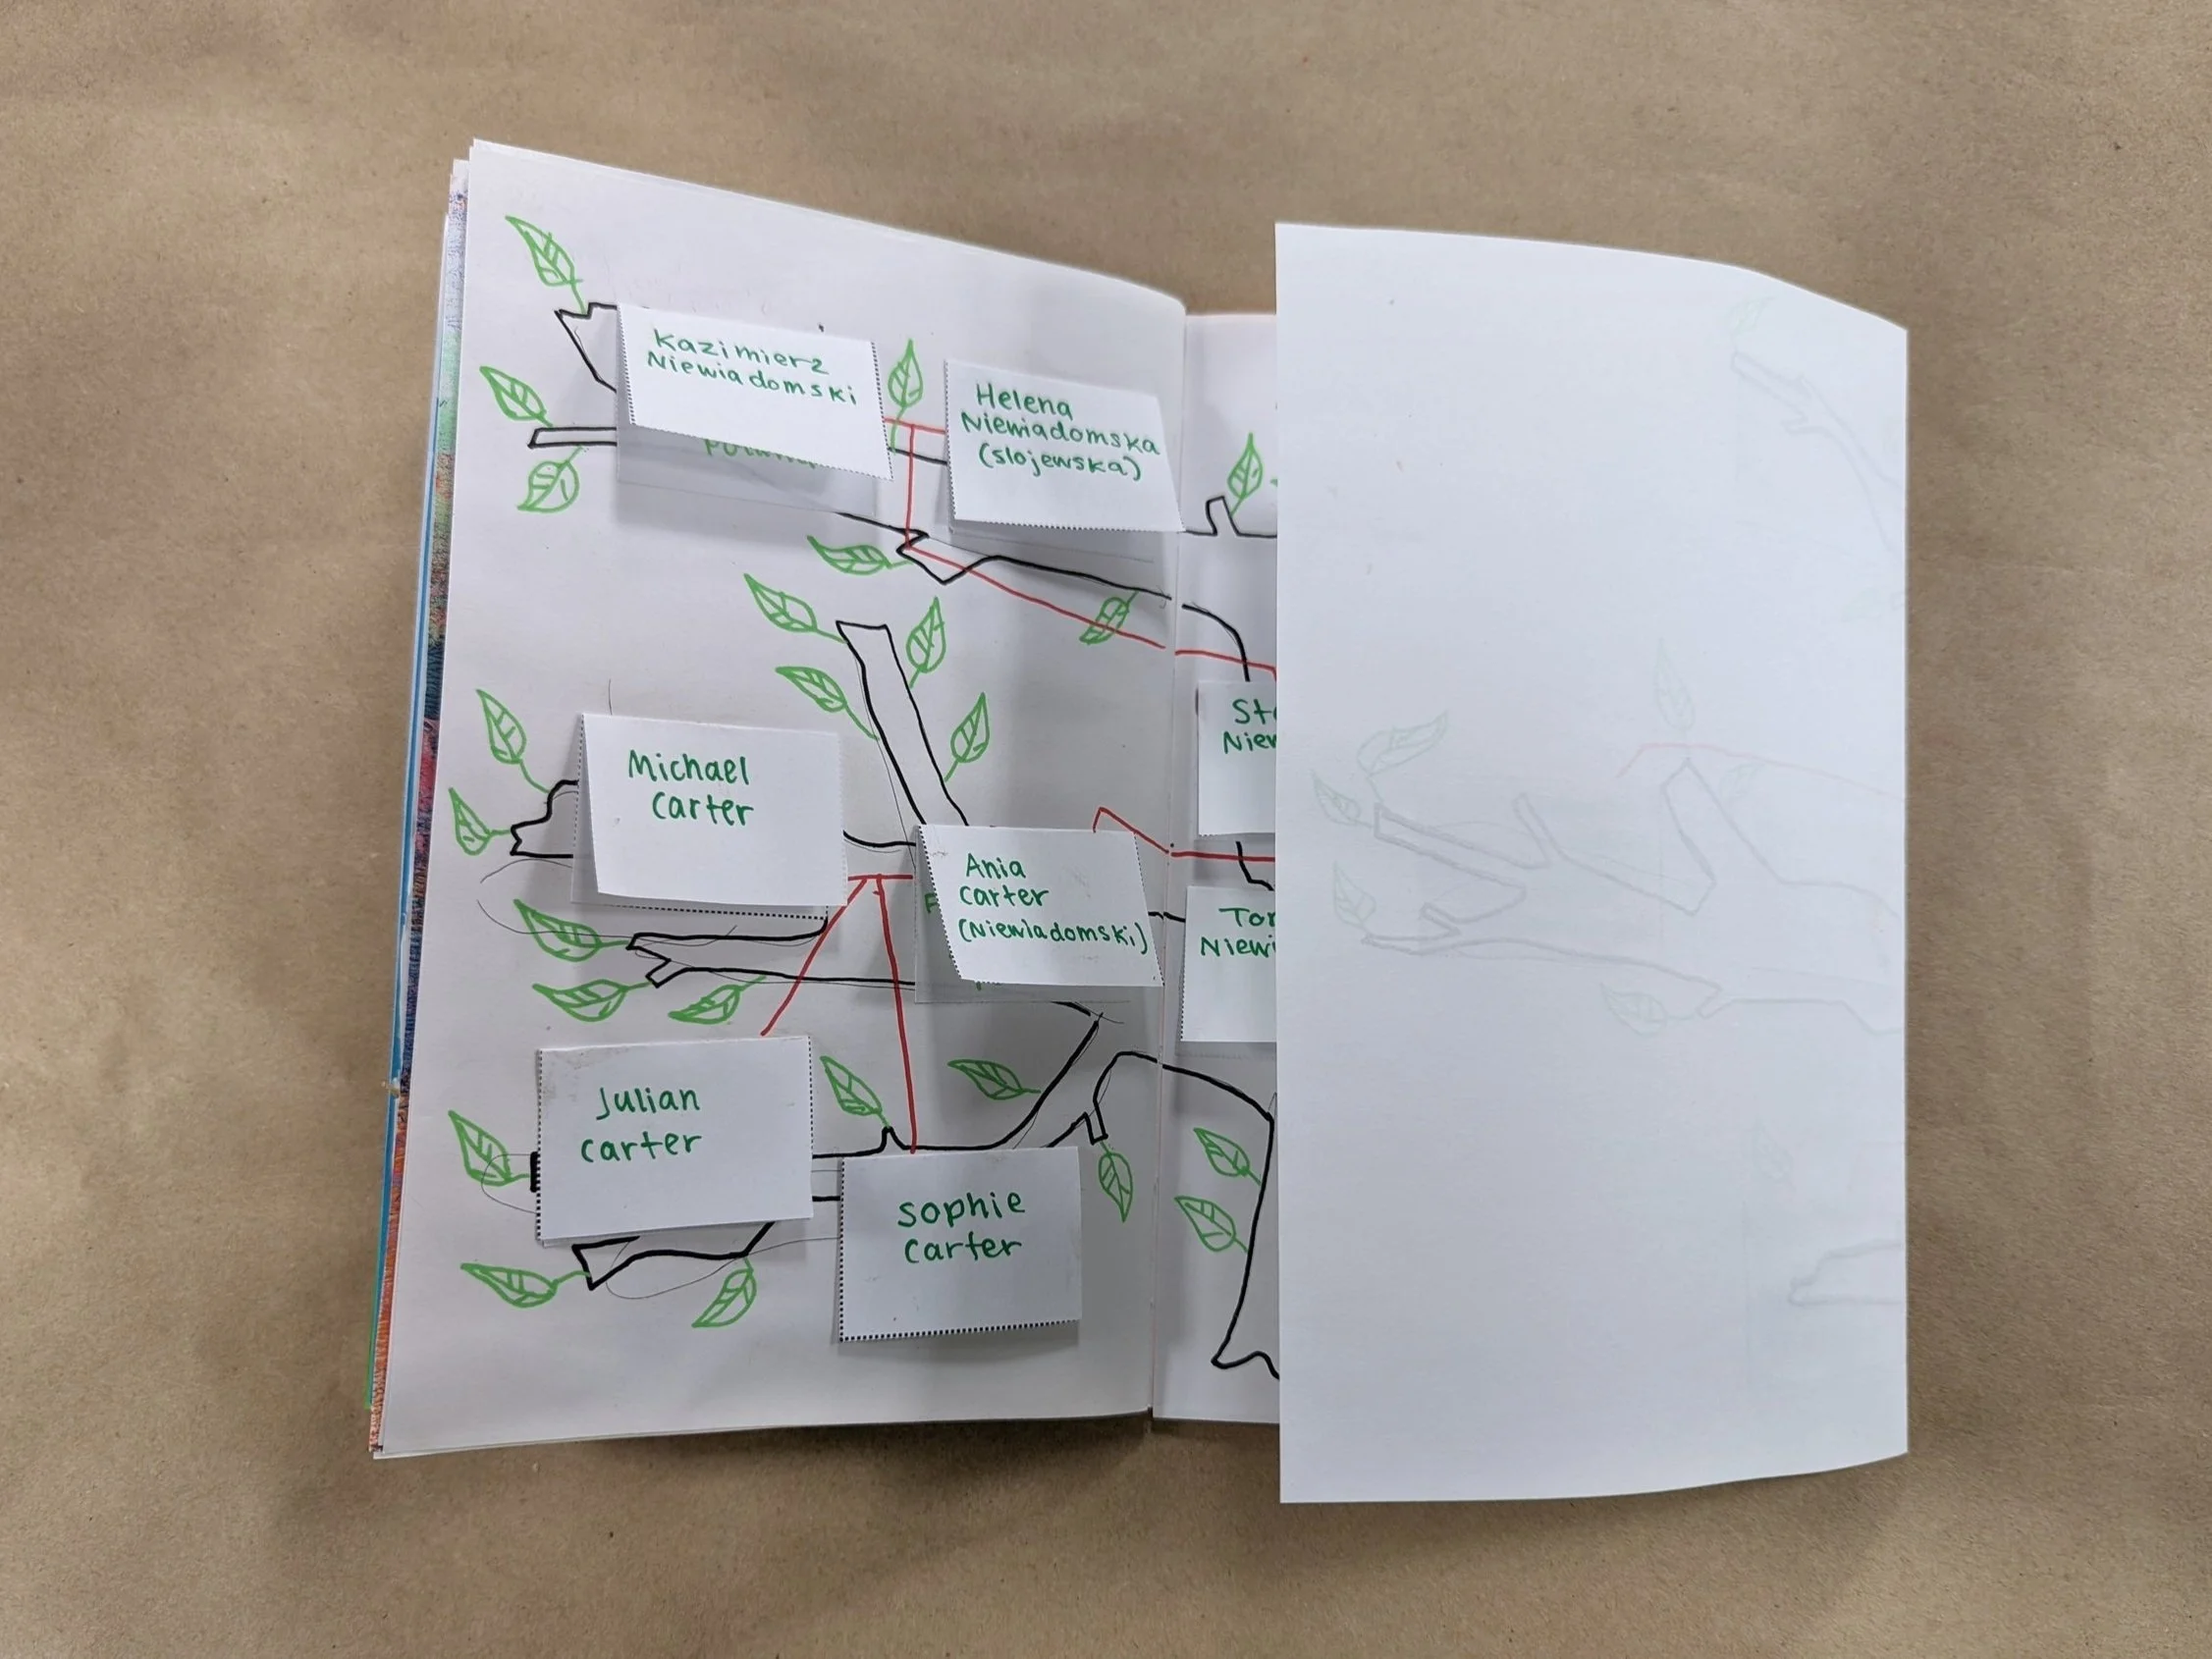
Step 4. Looking at your family layout, draw a tree on the pages of your Smash Book using a marker. The shape of the branches should be drawn so that each member of your family can fit on them. Feel free to plan this out in pencil first before going in with a marker.

Step 5. Using a glue stick, begin to paste each family member’s paper onto the tree. They should be placed so that you can open up the flap of paper to read about them.

Step 6. Finally, decorate your family tree! It may be a good idea to draw lines showing the relationships between your family members to make it more clear. You could also draw leaves, animals visiting the tree, or whatever else you can think of.

Step 7. As your family tree continues to grow and change over time, make sure to revisit this page and keep it up to date with new births and deaths. This is a living record of your family history! It’s a great exercise in preserving information so you can share it with future generations and have an accessible record of your lineage to look back on.

Connect with you fellow Club Members in our Virtual Google Classroom Space. Click here to join!
Share photos of your finished pages for a chance to win special prizes in our Monthly Prize draw!