

Week 21
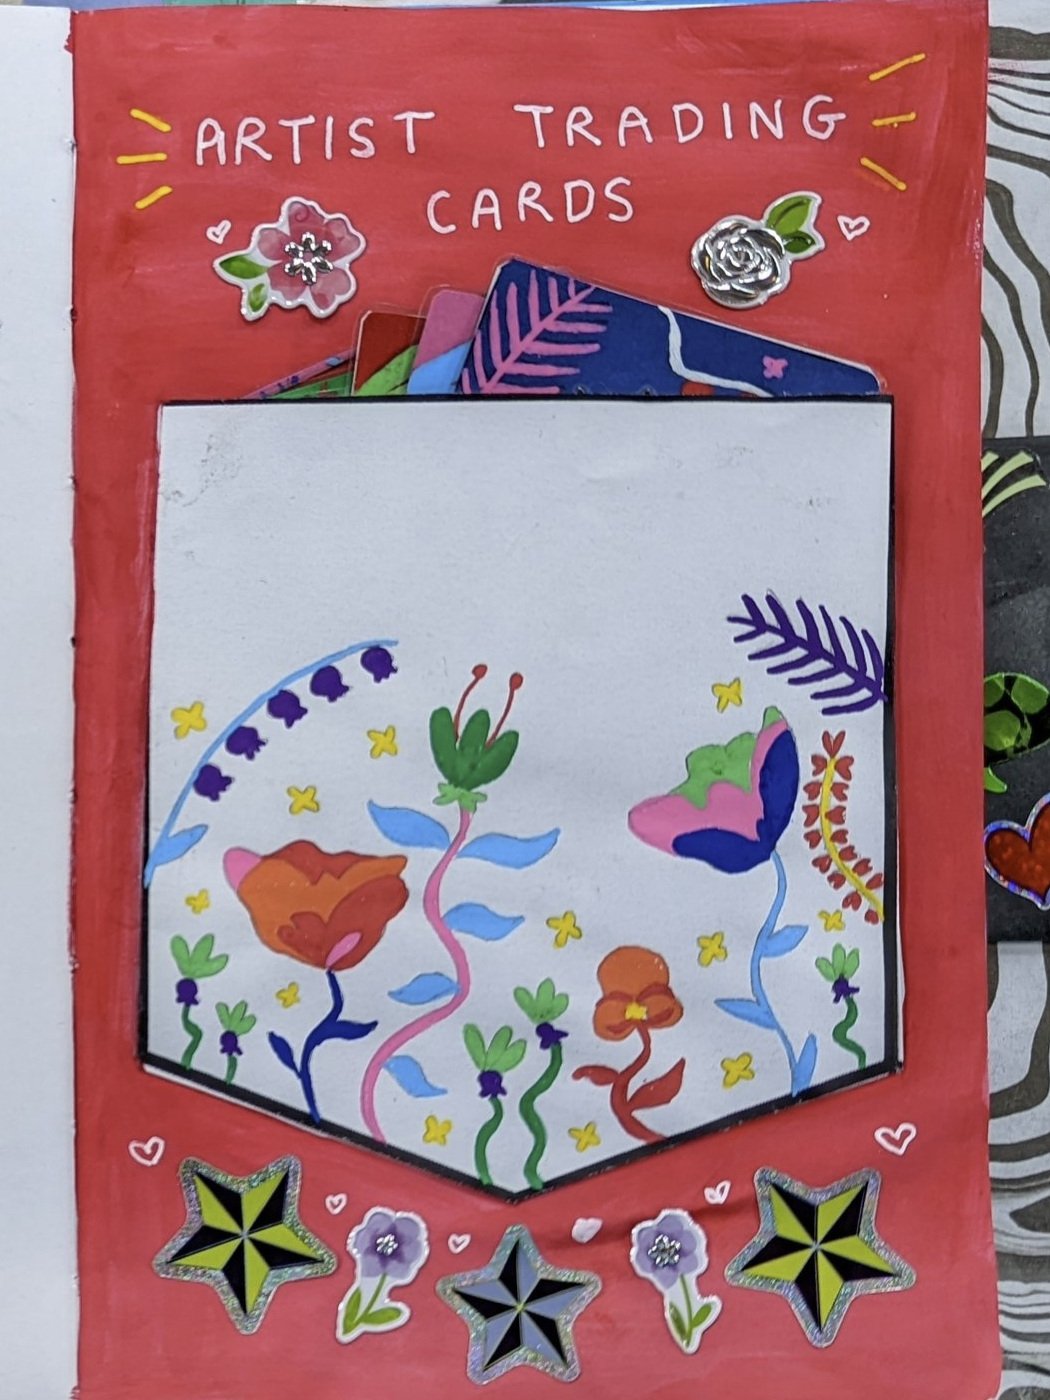
Artist Trading cards
Welcome to week twenty-one of your Smash Book! Today, you will be creating your own set of artist trading cards, aka ATCs. These are a set of similar but not identical cards that reflect your style as an artist!
If you’re interested in trading your ATCs with other members of the Smash Book Club, make sure to send us an e-mail (agnes@mindfulmakers.ca) so we can organize a swap!


Step 1. Print out the template for your artist trading cards, you can cut each one out and fill in the information. These will be pasted on the back of each of your trading cards! If you don’t have a printer, you can copy the text by hand onto the back of your cards.

Step 2. Next, you can start assembling the cards. Find a thicker sheet of paper, such as cardstock, construction paper, or very thin cardboard works well.
Use one of the trading card shapes you cut out, and trace eight of the shapes using a pencil. Then, you can cut each shape out using scissors.


Step 3. Now that you have the base of each artist trading card, it is time to decorate them! Think of your signature art style that you want to reflect. This could be a collage, a painting, a drawing, a combination of them, or really anything you can think of!
When making your art, try to make each card different, but they should all follow the same artistic theme! If you need help coming up with inspiration for your artist trading cards, try checking out the Mindful Makers Pinterest board or maybe some techniques you’ve learned when making past Smash Book pages.

Step 4. Once you finish your set of cards, use a glue stick to paste the information papers to the back of each one. One idea for making your cards more durable is to try laminating them using clear packing tape, or a lamination machine.
Step 5. Next, you will create an envelope to store your cards inside your Smash Book. Get the envelope template that you printed off earlier, and cut it out using scissors, Then, fold along the lines and use a glue stick to glue the tabs together. Once the envelope is completed, you can glue the entire backside of the envelope to paste it into your Smash Book!
Step 6. If you want, you can also decorate your envelope in a similar style to your artist trading cards. That way, you can remember your original design if you end up trading your cards with others. This is a fun activity to do with friends and can easily be traded by snail mail.

Connect with you fellow Club Members in our Virtual Google Classroom Space. Click here to join!
Share photos of your finished pages for a chance to win special prizes in our Monthly Prize draw!