
Week 42
Paper Mosaics
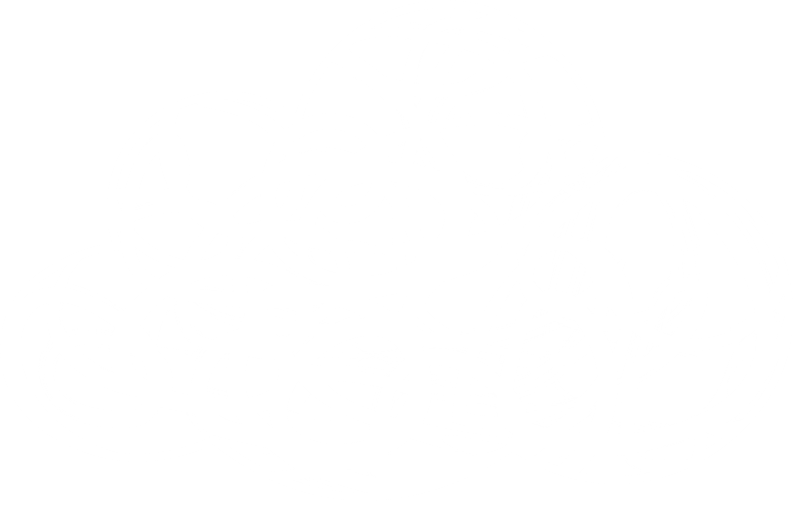
Welcome to week forty-two of your Smash Book! Today, you will be recreating photos in a paper mosaic style.
Step 1. First, pick one or more photos that you want to recreate. The simpler the photo, the easier it will be! If you don’t want to use a personal photo, you can reference our sample photos.

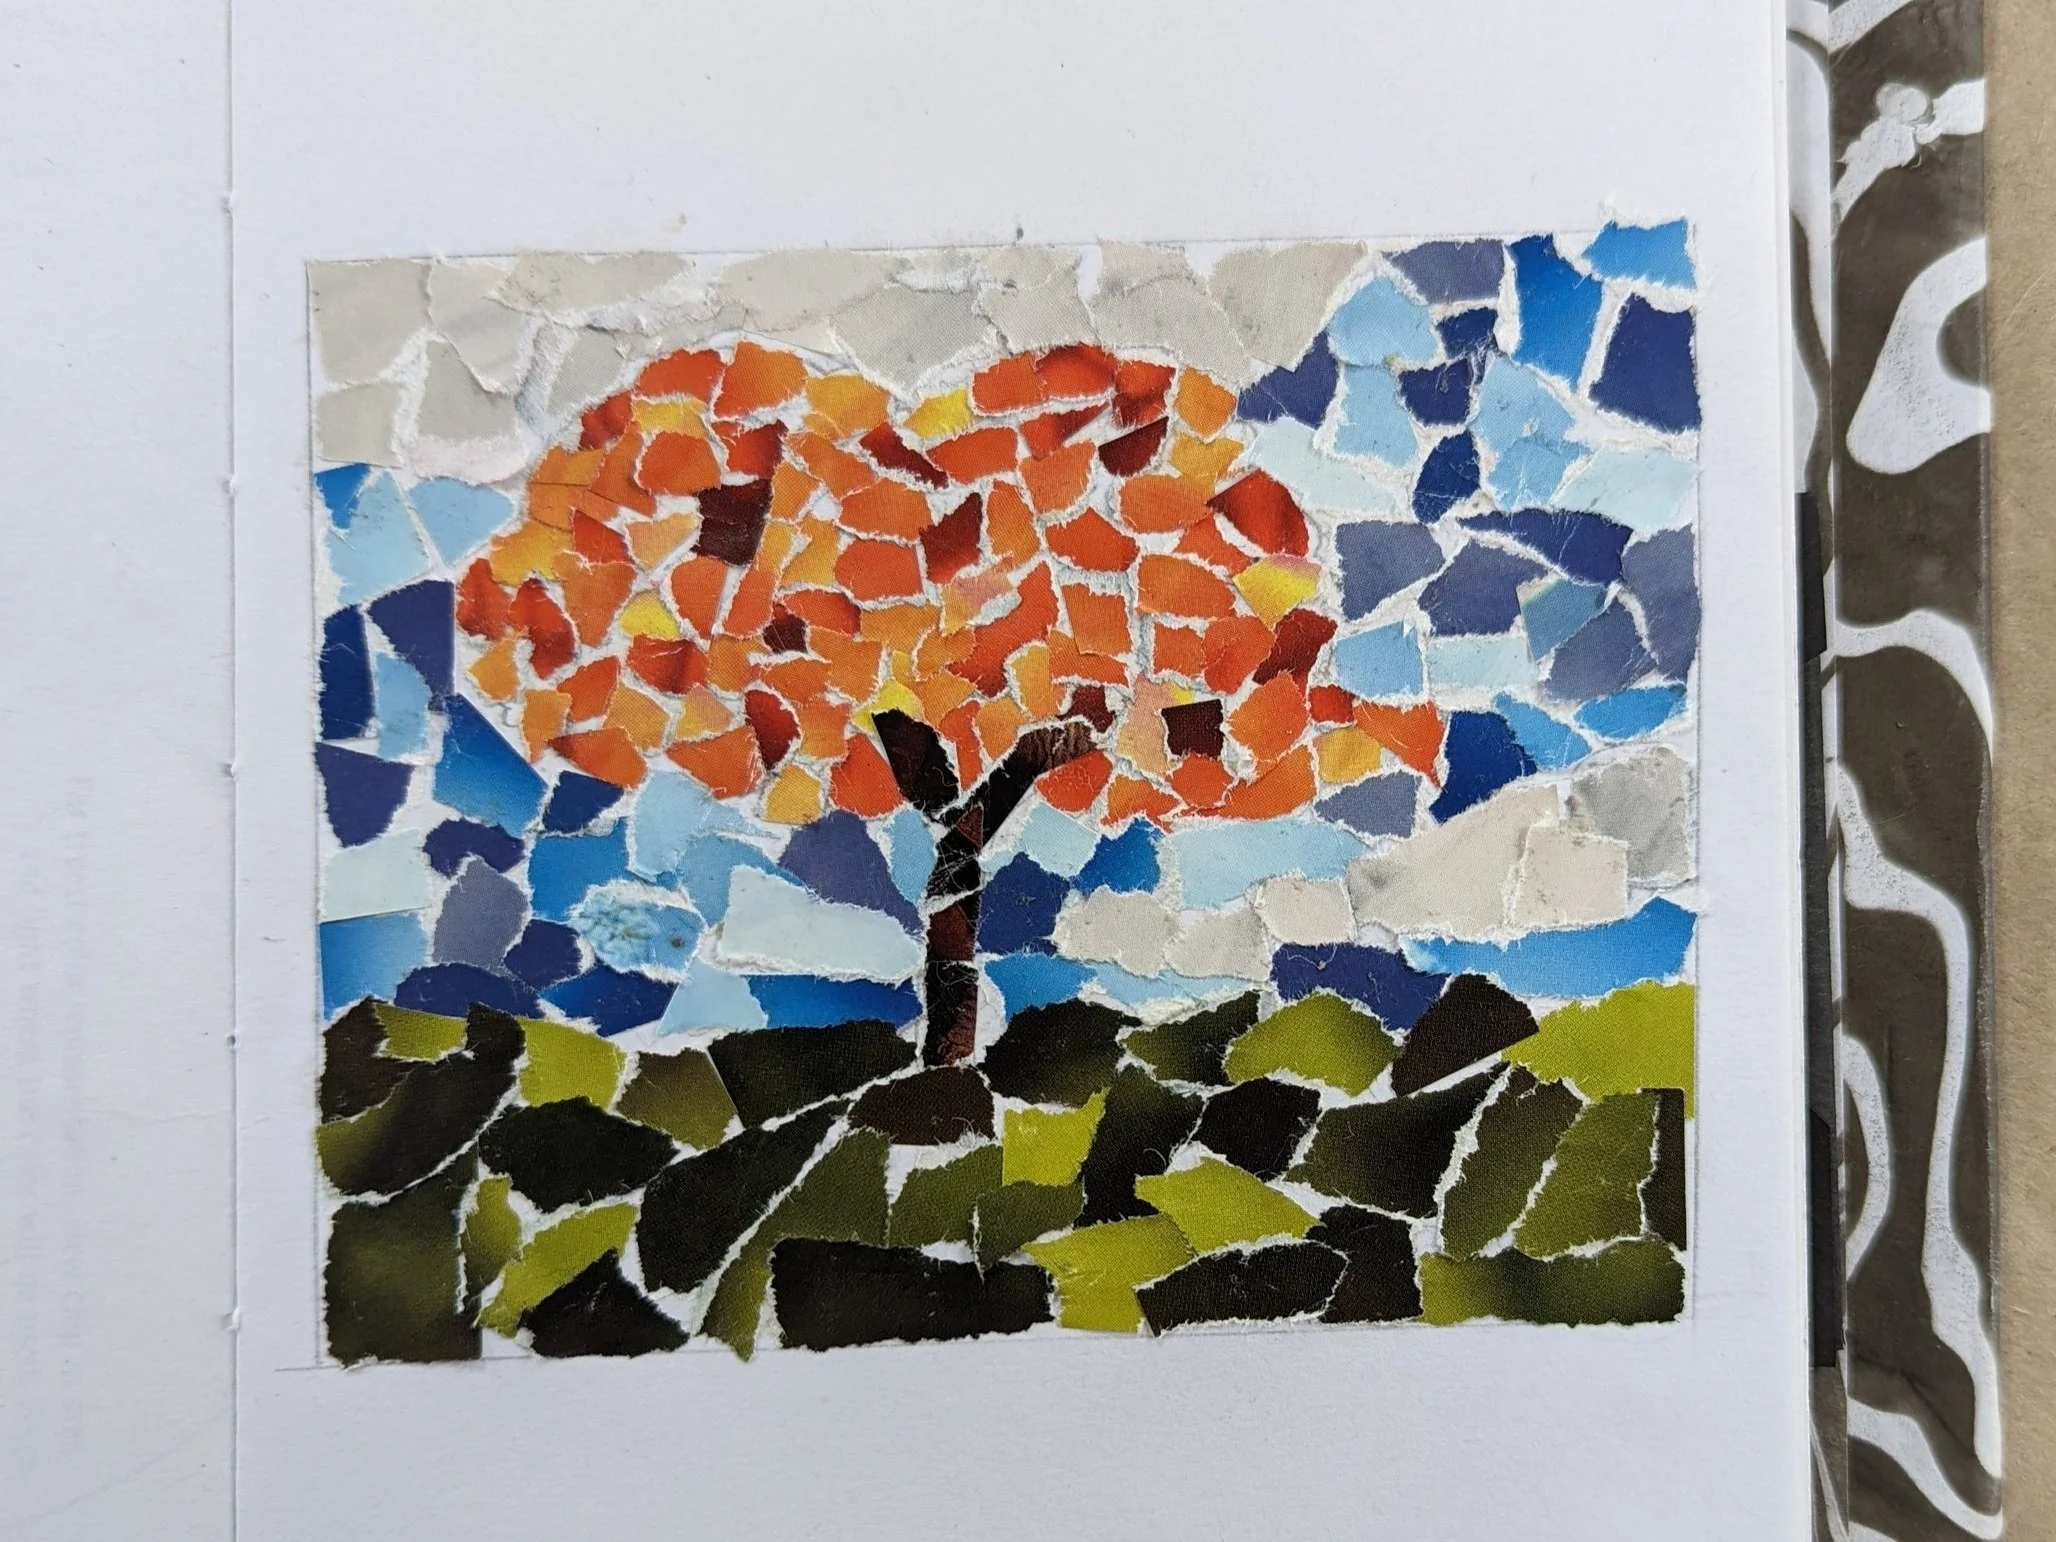
Step 2. Using your photo as a reference, do a simple tracing of the photo with pencil inside your Smash Book. Try and simplify the shapes so that they will be easier to fill in later.

Step 3. Next, prepare the paper for your mosaic. Find some old magazines, advertisements, or construction paper, and tear up tiny pieces in the colours of your photo. You can either use scissors, or your fingers for a more organic look. Try and get a variety in different sizes and shapes of paper pieces, this will help it appear more mosaic-like.

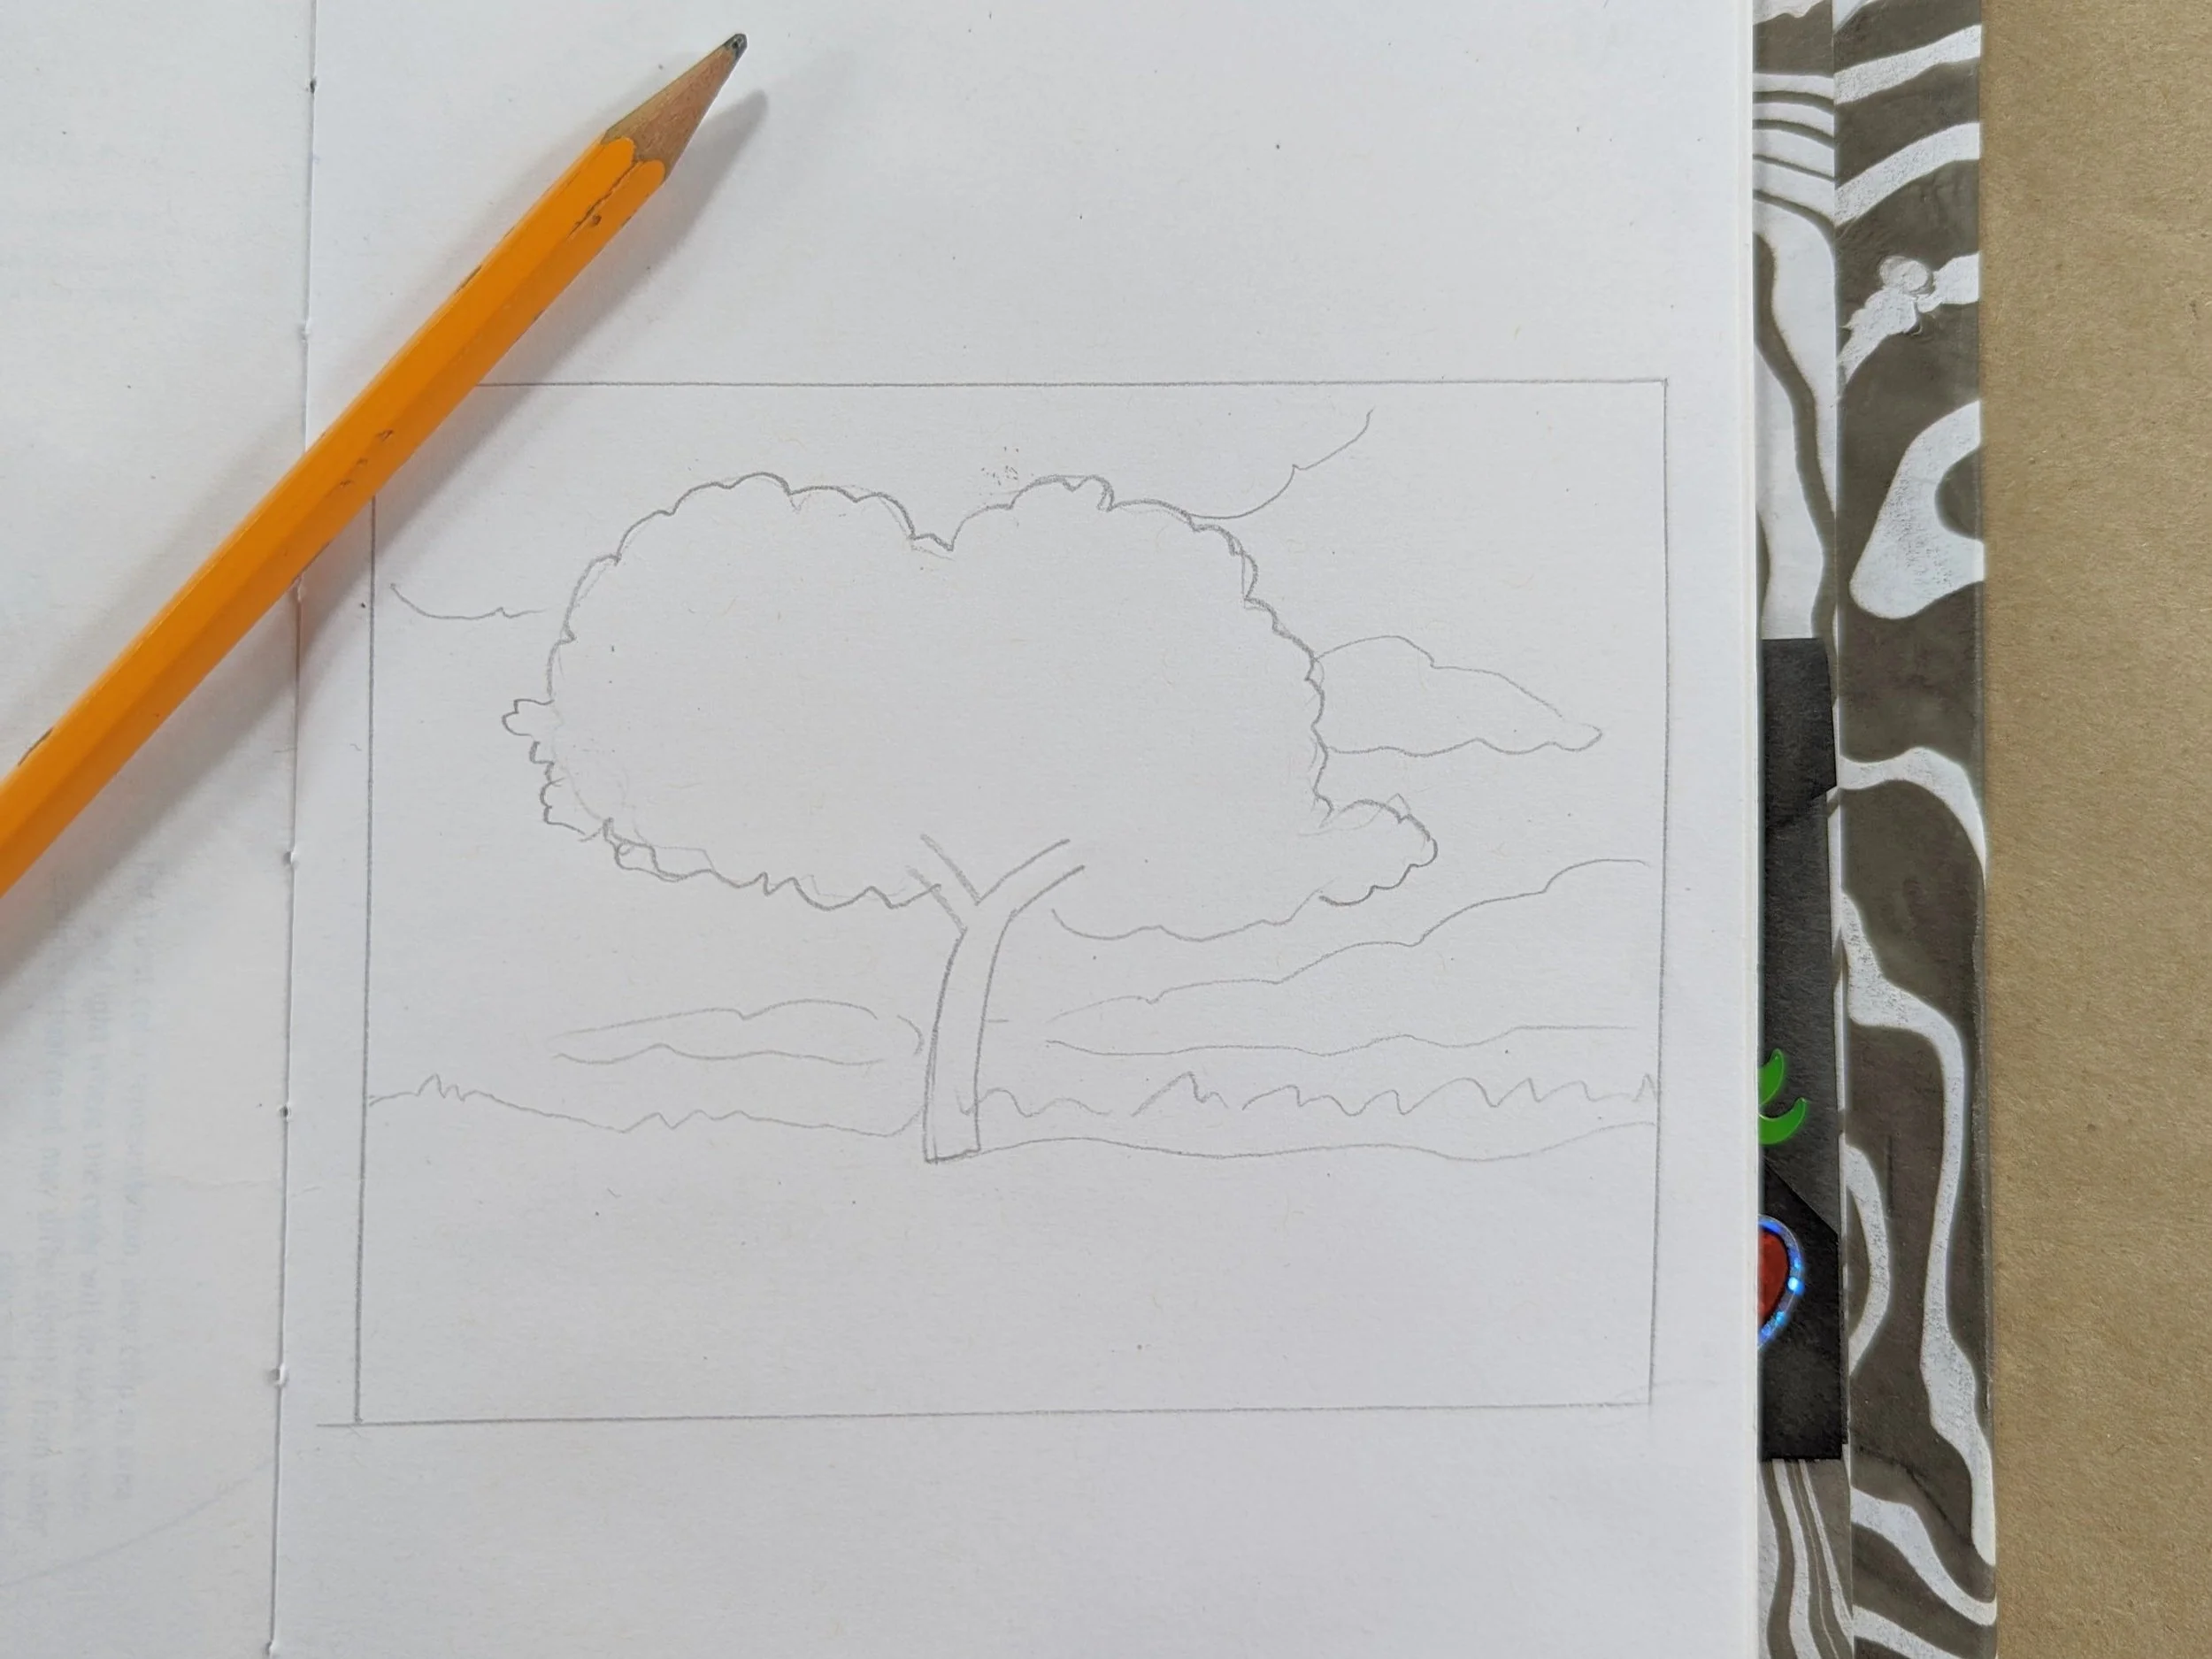
Step 4. Lastly, using a glue stick, paste the tiny paper pieces onto your drawn outline. Try and arrange the pieces so that they fit together, leaving small lines of white around them. Working with one colour or shape at a time will help you achieve the best results.

Connect with you fellow Club Members in our Virtual Google Classroom Space. Click here to join!
Share photos of your finished pages for a chance to win special prizes in our Monthly Prize draw!